How to Paint Cement Plant Pots (Concrete Planters)
May 14, 2019
We really need a name for this type of cement plant pot (concrete planter)
May 18, 2019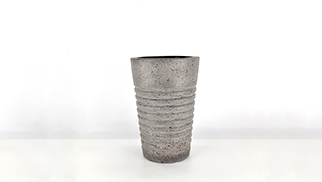
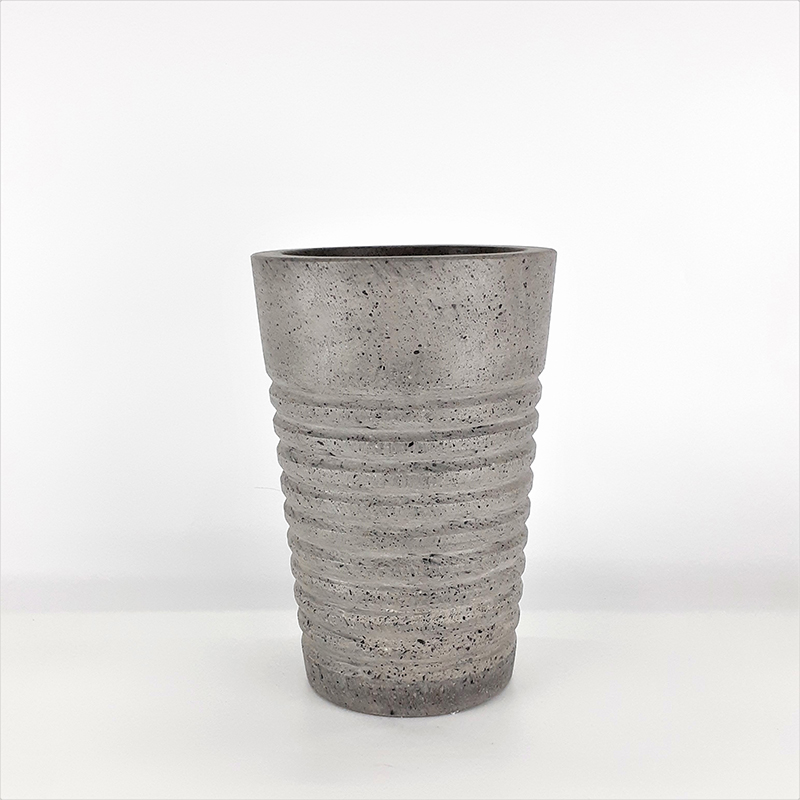
Vietnamese Lightweight Concrete Planter
Create lightweight concrete planters with the look of antique stone sinks and troughs with little more than lightweight "hypertufa" concrete mix and built or improvised molds. For various neutral tones, blend powdered cement into the tufa mix before casting your planters--being careful to use exact quantities to get exact color matches. By matching various sizes of paired "nesting" cardboard boxes or other molds--one slightly larger the other--you can make a yard full of matching planters. The main challenge is the long wait while the cement mixture cures.
Step 1 Dig and shape a hole in the damp sand the approximate size of the largest round form. Place the large container in the hole.
Step 2 Combine equal amounts of peat moss, perlite and portland cement. Add one handful of Fibermesh and--if desired--1 oz. of powdered cement dye per gallon of mix. Mix all of the dry ingredients thoroughly. Add water as needed, a small amount at a time, to produce slurry with a cottage cheese-like consistency.
Step 3 Set the largest of the two molds on the drop cloth. To create a sink or trough with walls 2 inches thick, the larger mold should be 4 inches longer and wider than the smaller container. Sharp corners chip easily, so choose or make molds with rounded corners. Paint the molds' contact surfaces with linseed oil, a release agent, before each use.
Step 4 Put gloves on and pour the mixture into the larger mold, creating a planter bottom about 2 inches thick. Center the smaller mold atop the slurry and press down very slightly. Pack more mixture between the inner and outer molds, to create the planter walls, using the trowel. Tamp firmly as you go. Wait 10 minutes. Remove the smaller mold. Make drainage holes in the planter bottom with an oiled wooden dowel. "Round" inner corners if needed.
Step 5 Cover the large mold and setting slurry with plastic to slow the drying process. Cure the cement mixture for 48 hours. Remove the outer mold. Brush the planter's outer walls with a wire brush to enhance the texture. Cover the planter with plastic again and allow it to cure for two more weeks
Step 6 Wash out the trough several times as it cures to leach out excess lime which otherwise will affect soil pH later. Pick up the planter by the bottom to move it, and handle it with care to avoid hairline cracks. Use a propane torch, at an angle, to burn off the fiber "cat hair" caused by brushing.
(Vietnam - May 15, 2019)